반응형
1편(링크)에선 카메라또는 라이브러리에서 이미지를 선택하는 방법을 배웠다.
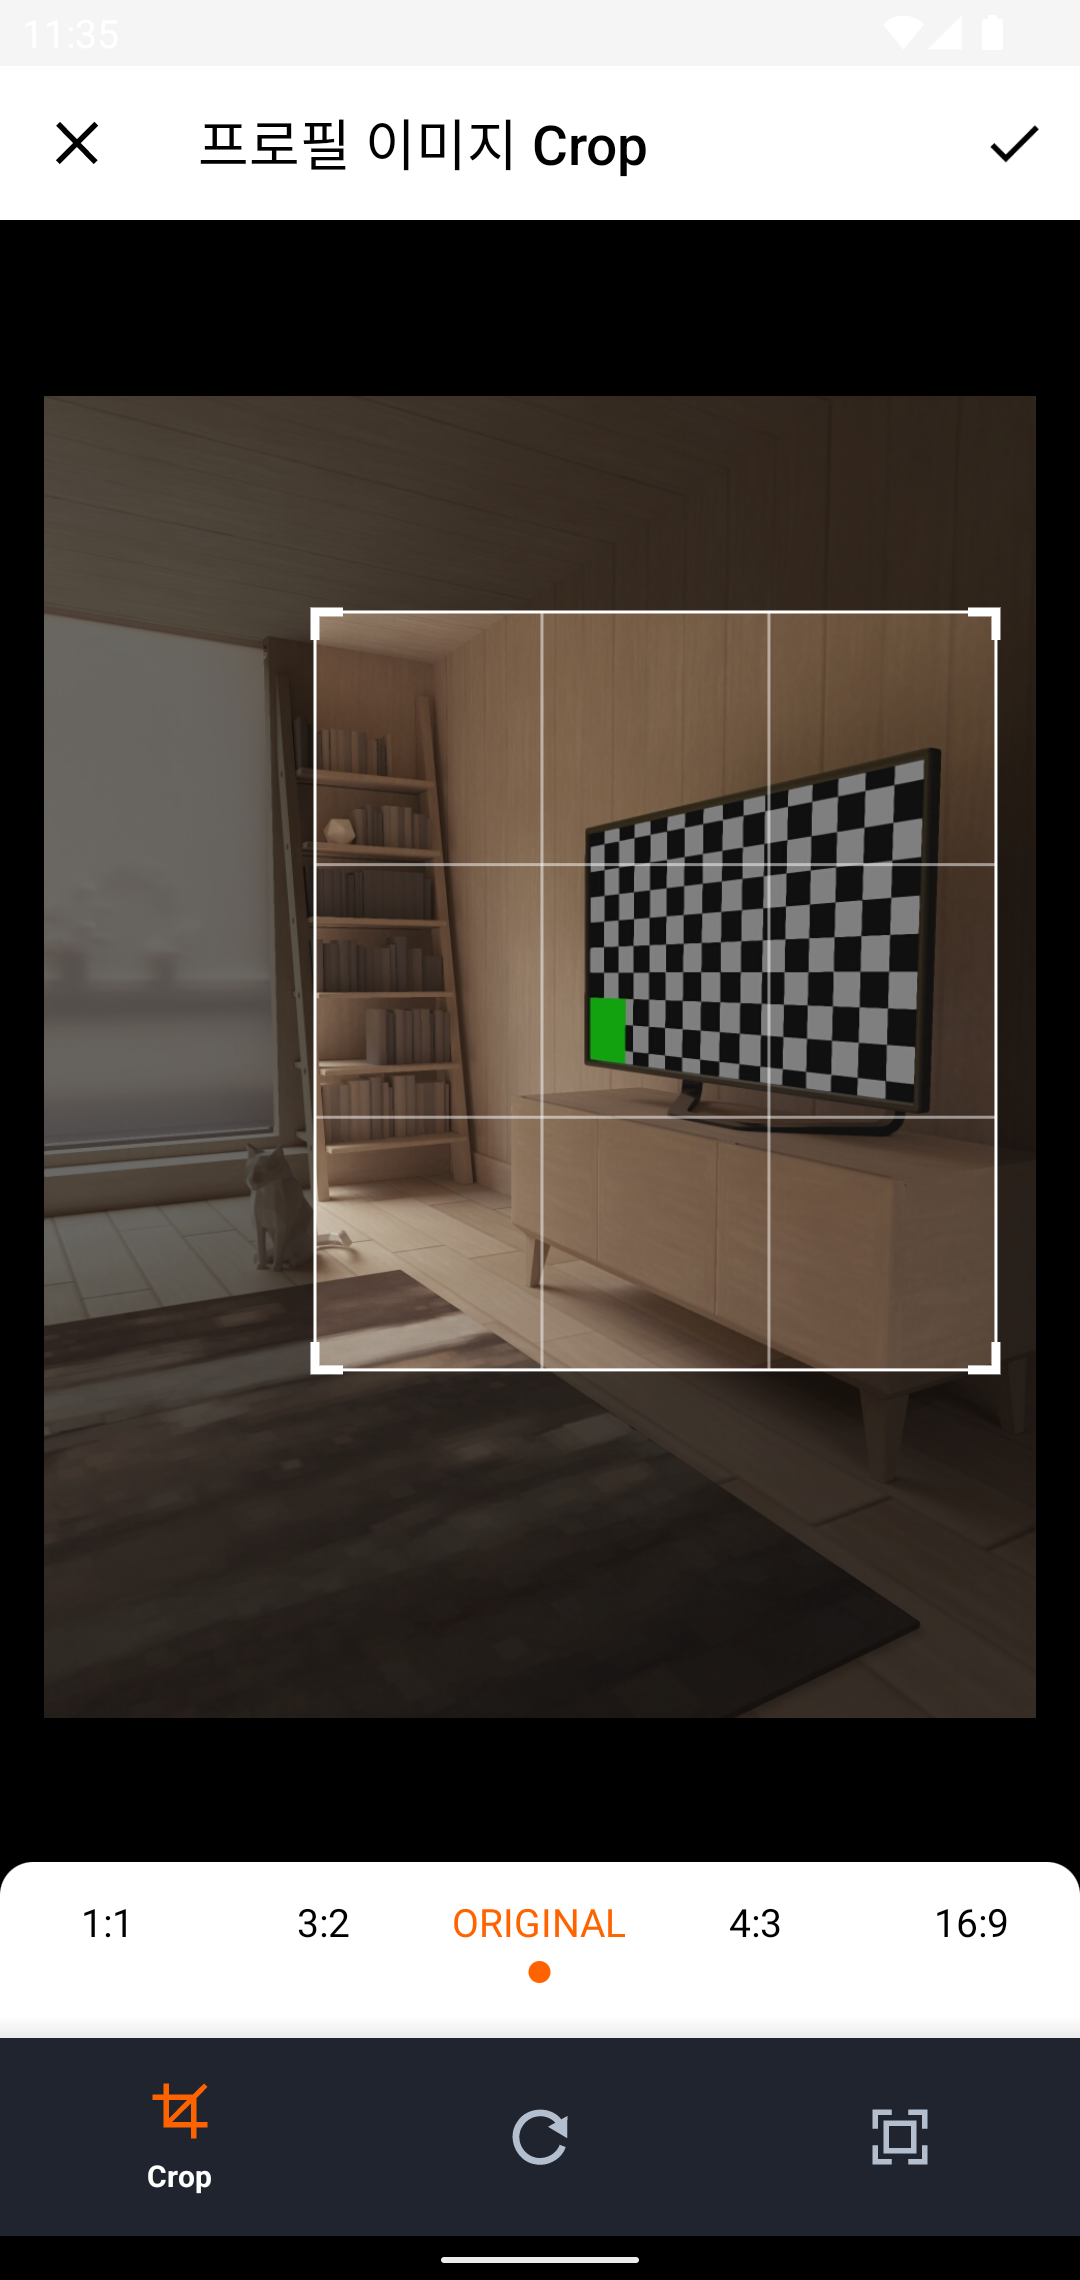
2편에선 선택한 이미지를 crop하는 방법을 배워 보겠다.
crop은 image_cropper (링크) 를 사용해서 하겠다.
먼저 라이브러리를 추가해준다.
flutter pub add image_cropperiOS는 따로 설정은 필요없다.
안드로이드는 UCropActivity를 AndroidManifest.xml 파일에 추가해줘야한다.
<activity
    android:name="com.yalantis.ucrop.UCropActivity"
    android:screenOrientation="portrait"
    android:theme="@style/Theme.AppCompat.Light.NoActionBar"/>
<manifest xmlns:android="http://schemas.android.com/apk/res/android"
    package="com.example.youtube_camera">
   <application
        android:label="youtube_camera"
        android:name="${applicationName}"
        android:icon="@mipmap/ic_launcher">
        <activity
            android:name=".MainActivity"
            android:exported="true"
            android:launchMode="singleTop"
            android:theme="@style/LaunchTheme"
            android:configChanges="orientation|keyboardHidden|keyboard|screenSize|smallestScreenSize|locale|layoutDirection|fontScale|screenLayout|density|uiMode"
            android:hardwareAccelerated="true"
            android:windowSoftInputMode="adjustResize">
            <!-- Specifies an Android theme to apply to this Activity as soon as
                 the Android process has started. This theme is visible to the user
                 while the Flutter UI initializes. After that, this theme continues
                 to determine the Window background behind the Flutter UI. -->
            <meta-data
              android:name="io.flutter.embedding.android.NormalTheme"
              android:resource="@style/NormalTheme"
              />
            <intent-filter>
                <action android:name="android.intent.action.MAIN"/>
                <category android:name="android.intent.category.LAUNCHER"/>
            </intent-filter>
        </activity>
        <!-- Don't delete the meta-data below.
             This is used by the Flutter tool to generate GeneratedPluginRegistrant.java -->
        <meta-data
            android:name="flutterEmbedding"
            android:value="2" />

       <activity
           android:name="com.yalantis.ucrop.UCropActivity"
           android:screenOrientation="portrait"
           android:theme="@style/Theme.AppCompat.Light.NoActionBar"/>
    </application>
</manifest>
AndroidManifest.xml 파일
다음으론 기존에 카메라와 사진 라이브러리에서 사진을 불러오던 부분을 수정해주자
선택한 이미지를 crop 할 것이기 때문에 선택한 이미지를 crop 함수를 만들어서 넘겨주도록 하자.
getCameraImage() async {
  final pickedFile =
      await ImagePicker().pickImage(source: ImageSource.camera);
  if (pickedFile != null) {
    await cropImage(pickedFile);
  } else {
    if (kDebugMode) {
      print('이미지 선택안함');
    }
  }
}

getPhotoLibraryImage() async {
  final pickedFile =
      await ImagePicker().pickImage(source: ImageSource.gallery);
  if (pickedFile != null) {
    await cropImage(pickedFile);
  } else {
    if (kDebugMode) {
      print('이미지 선택안함');
    }
  }
}
이미지를 crop하는 경우 파일 경로를 바로 받아서 넣으면 되므로 _pickedFile 변수를 String 타입으로 변환한다.
String? _pickedFile;
_pickFile을 사용하는 최종 이미지 보여주는 위젯도 수정해준다.
Center(
  child: Container(
    width: imageSize,
    height: imageSize,
    decoration: BoxDecoration(
      shape: BoxShape.circle,
      border: Border.all(
          width: 2, color: Theme.of(context).colorScheme.primary),
      image: DecorationImage(
          image: FileImage(File(_pickedFile!)),
          fit: BoxFit.cover),
    ),
  ),
),
반응형
다음으론 이미지를 받아서 crop하는 cropImage 함수를 만들자.
Future<void> cropImage(XFile? filePath) async {
  final croppedFile = await ImageCropper().cropImage(
    sourcePath: filePath!.path,
    maxWidth: 1080,
    maxHeight: 1080,
    aspectRatioPresets: Platform.isAndroid
        ? [
            CropAspectRatioPreset.square,
            CropAspectRatioPreset.ratio3x2,
            CropAspectRatioPreset.original,
            CropAspectRatioPreset.ratio4x3,
            CropAspectRatioPreset.ratio16x9
          ]
        : [
            CropAspectRatioPreset.original,
            CropAspectRatioPreset.square,
            CropAspectRatioPreset.ratio3x2,
            CropAspectRatioPreset.ratio4x3,
            CropAspectRatioPreset.ratio5x3,
            CropAspectRatioPreset.ratio5x4,
            CropAspectRatioPreset.ratio7x5,
            CropAspectRatioPreset.ratio16x9
          ],
    uiSettings: [
      AndroidUiSettings(
          toolbarTitle: 'Cropper',
          toolbarColor: Colors.deepOrange,
          toolbarWidgetColor: Colors.white,
          initAspectRatio: CropAspectRatioPreset.original,
          lockAspectRatio: false),
      IOSUiSettings(
        title: 'Cropper',
      )
    ],
  );
  if (croppedFile != null) {
      setState(() {
        _pickedFile = croppedFile.path;
      });
  }
}

최종 소스 코드는 아래와 같다.
import 'dart:io';

import 'package:flutter/foundation.dart';
import 'package:flutter/material.dart';
import 'package:image_cropper/image_cropper.dart';
import 'package:image_picker/image_picker.dart';

class Example2Page extends StatefulWidget {
  const Example2Page({Key? key}) : super(key: key);

  @override
  State<Example2Page> createState() => _Example1PageState();
}

class _Example1PageState extends State<Example2Page> {
  String? _pickedFile;

  @override
  Widget build(BuildContext context) {
    final imageSize = MediaQuery.of(context).size.width / 4;

    return SafeArea(
      child: Scaffold(
        appBar: AppBar(
          title: const Text('Example2'),
        ),
        body: Column(
          children: [
            const SizedBox(
              height: 20,
            ),
            if (_pickedFile == null)
              Container(
                constraints: BoxConstraints(
                  minHeight: imageSize,
                  minWidth: imageSize,
                ),
                child: GestureDetector(
                  onTap: () {
                    showBottomSheet();
                  },
                  child: Center(
                    child: Icon(
                      Icons.account_circle,
                      size: imageSize,
                    ),
                  ),
                ),
              )
            else
              Center(
                child: Container(
                  width: imageSize,
                  height: imageSize,
                  decoration: BoxDecoration(
                    shape: BoxShape.circle,
                    border: Border.all(
                        width: 2, color: Theme.of(context).colorScheme.primary),
                    image: DecorationImage(
                        image: FileImage(File(_pickedFile!)),
                        fit: BoxFit.cover),
                  ),
                ),
              ),
          ],
        ),
      ),
    );
  }

  showBottomSheet() {
    return showModalBottomSheet(
      context: context,
      shape: const RoundedRectangleBorder(
        borderRadius: BorderRadius.vertical(
          top: Radius.circular(25),
        ),
      ),
      builder: (context) {
        return Column(
          mainAxisSize: MainAxisSize.min,
          children: [
            const SizedBox(
              height: 20,
            ),
            ElevatedButton(
              onPressed: () => getCameraImage(),
              child: const Text('사진찍기'),
            ),
            const SizedBox(
              height: 10,
            ),
            const Divider(
              thickness: 3,
            ),
            const SizedBox(
              height: 10,
            ),
            ElevatedButton(
              onPressed: () => getPhotoLibraryImage(),
              child: const Text('라이브러리에서 불러오기'),
            ),
            const SizedBox(
              height: 20,
            ),
          ],
        );
      },
    );
  }

  getCameraImage() async {
    final pickedFile =
        await ImagePicker().pickImage(source: ImageSource.camera);
    if (pickedFile != null) {
      await cropImage(pickedFile);
    } else {
      if (kDebugMode) {
        print('이미지 선택안함');
      }
    }
  }

  getPhotoLibraryImage() async {
    final pickedFile =
        await ImagePicker().pickImage(source: ImageSource.gallery);
    if (pickedFile != null) {
      await cropImage(pickedFile);
    } else {
      if (kDebugMode) {
        print('이미지 선택안함');
      }
    }
  }

  Future<void> cropImage(XFile? filePath) async {
    final croppedFile = await ImageCropper().cropImage(
      sourcePath: filePath!.path,
      maxWidth: 1080,
      maxHeight: 1080,
      aspectRatioPresets: Platform.isAndroid
          ? [
              CropAspectRatioPreset.square,
              CropAspectRatioPreset.ratio3x2,
              CropAspectRatioPreset.original,
              CropAspectRatioPreset.ratio4x3,
              CropAspectRatioPreset.ratio16x9
            ]
          : [
              CropAspectRatioPreset.original,
              CropAspectRatioPreset.square,
              CropAspectRatioPreset.ratio3x2,
              CropAspectRatioPreset.ratio4x3,
              CropAspectRatioPreset.ratio5x3,
              CropAspectRatioPreset.ratio5x4,
              CropAspectRatioPreset.ratio7x5,
              CropAspectRatioPreset.ratio16x9
            ],
      uiSettings: [
        AndroidUiSettings(
            toolbarTitle: '프로필 이미지 Crop',
            initAspectRatio: CropAspectRatioPreset.original,
            lockAspectRatio: false),
        IOSUiSettings(
          title: '프로필 이미지 Crop',
        )
      ],
    );
    if (croppedFile != null) {
      setState(() {
        _pickedFile = croppedFile.path;
      });
    }
  }
}
깃허브에서도 전체 소스코드를 확인해 보고 실행 해 볼수 있다. 링크
반응형
'DEV > FLUTTER' 카테고리의 다른 글
| Admob 광고 안나오는 문제 수정 (0) | 2022.07.06 |
|---|---|
| 파이어베이스 에뮬레이터 (firebase emulator) 실행 문제 (0) | 2022.07.04 |
| [FLUTTER] IOS 구글 로그인 (google sign in) 취소시 앱 크래쉬 (0) | 2022.06.24 |
| [FLUTTER] 프로필 화면 만들기 #1 ( Image Picker 이용하여 카메라 및 라이브러리 사용) (1) | 2022.06.04 |


